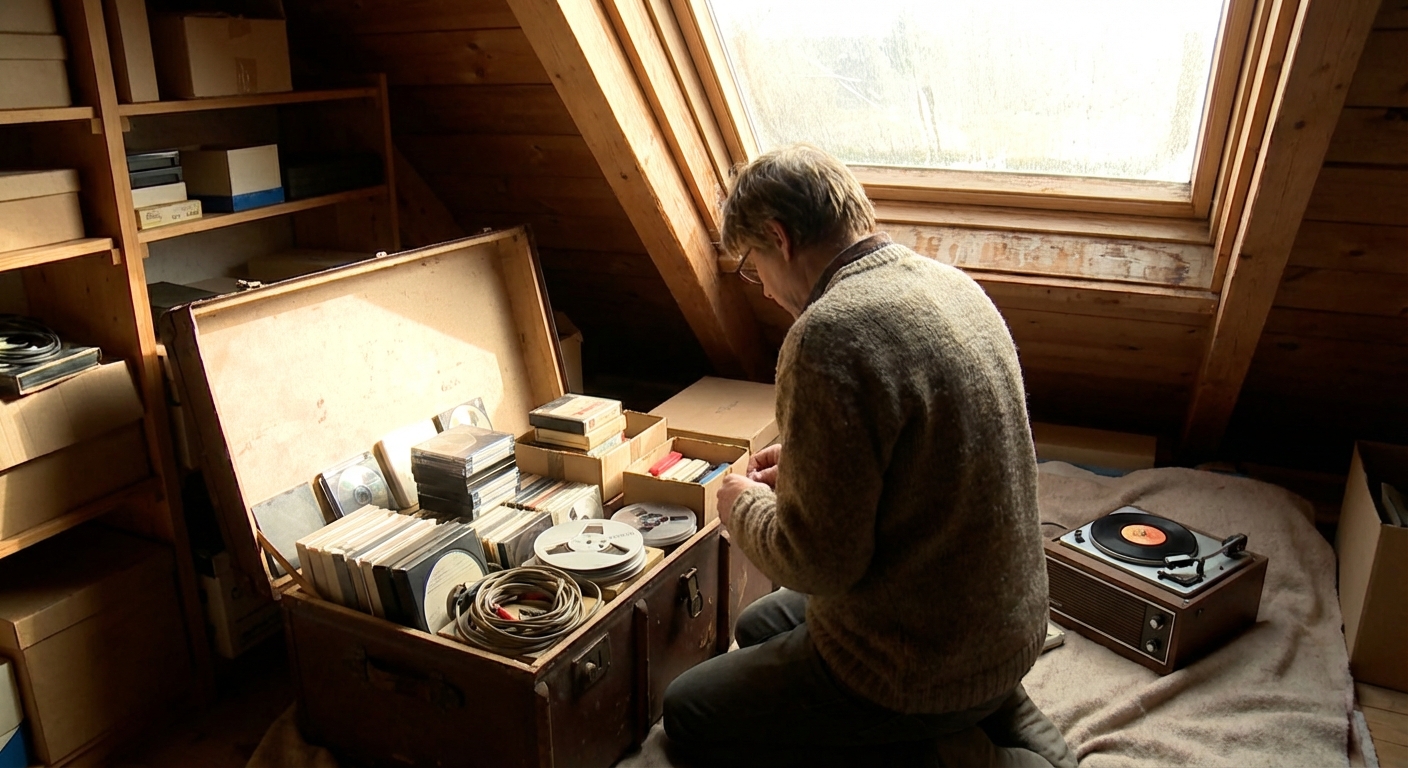
Shoeboxes of camcorder tapes. A milk crate full of VHS. A short stack of mysterious MiniDiscs. They’re not just clutter—these are time capsules of people, places, and sounds that only exist on aging plastic and tape.
First, Don’t Panic: Your Old Media Might Still Be Alive
The good news: with some care and a bit of detective work, you can bring many lost formats back to life.
This guide walks you through reviving and preserving analog-era treasures while appreciating their craftsmanship, quirks, and charm.
Step 1: Identify the Mystery Format
Before anything else, figure out what you’re dealing with.
Common Lost Formats You Might Find
- VHS / S-VHS: Chunky black tapes, familiar labels, tab for write-protect
- Video8 / Hi8 / Digital8: Small camcorder cassettes marked "8mm"
- MiniDV: Tiny cassettes, often labeled “DV” or "MiniDV"
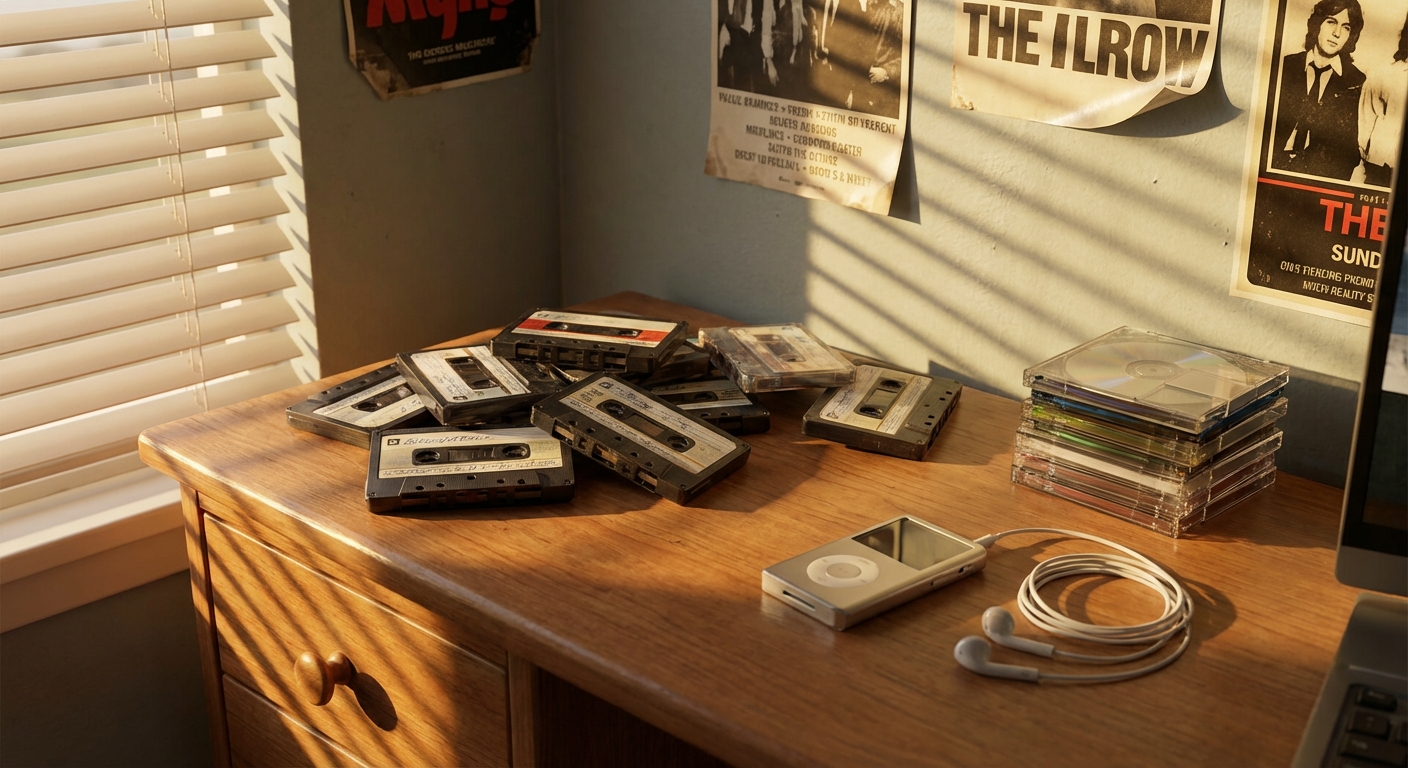
- Compact Cassette: Your classic audio tape
- MiniDisc (MD): Small square discs in plastic shells with sliding doors
- DAT: Cassette about the size of two postage stamps
- 8-Track: Palm-sized cartridges with no spools visible
If you’re unsure, snap a clear photo and compare it with online format galleries or ask in a tape-nerd forum—there is always someone delighted to help identify your mystery plastic.
Step 2: Assess Condition Without Doing Harm
A little restraint now can save irreplaceable recordings.
Look, Don’t Play (Yet)
Inspect visually:
- Shell: Cracks? Warping? Missing doors or screws?
- Tape: Any visible mold (white fuzz), severe wrinkles, or breaks?
- Labels: Handwriting clues: "1989 Recital", "Grandma Interview", or simply "MIX"—the most dangerous of emotional landmines.
If you see mold, isolate the item in a sealed bag. Mold can spread to other tapes and isn’t great for lungs or hardware.
Smell Test
Carefully smell near (not on) the cassette:
- Vinegar smell: Possible acetate-based tape “vinegar syndrome” on some reel-to-reel or older film—not common for late consumer video, but worth noting
- Crayon/waxy smell: Sometimes a sign of tape binder issues
If it smells obviously wrong, plan for professional transfer.
Step 3: Decide: DIY or Professional Transfer?
DIY Is Best When
- The content is nostalgic but not absolutely irreplaceable
- You’re comfortable tinkering and troubleshooting
- You can accept the risk of average, not archival-grade, results
Go Pro When
- Tapes show visible damage or mold
- The content is truly irreplaceable (weddings, family archives, rare performances)
- The format is obscure (e.g., Betamax, U-matic, certain reel-to-reel sizes)
Professional transfer houses invest in:
- Specialized decks
- Time-base correctors (TBCs) to stabilize wobbly video
- Gentle cleaning tools
Consider them the tape surgeons; you’re the friendly GP.
Step 4: Finding and Caring for Old Hardware
If you’re going DIY, you’ll need compatible players.
Where to Look
- Local thrift stores and charity shops
- Online classifieds (look for local pickup to avoid shipping damage)
- Estate sales and garage sales
What to Check Before You Buy
For VCRs / camcorders / tape decks:
- Does it power on reliably?
- Does it accept and eject tapes smoothly?
- Any grinding noises or chewing?
If the seller lets you, test with a junk tape first. Never sacrifice your only copy of "1993 School Concert" to an unvetted deck.
Basic Maintenance
- Clean heads with proper head-cleaning swabs and 90–99% isopropyl alcohol
- Run a commercially made head-cleaning cassette if available
- Store machines dry and dust-free; avoid attics and damp basements
Treat these machines like vintage cars: gentle warm-ups, no sudden abuse.
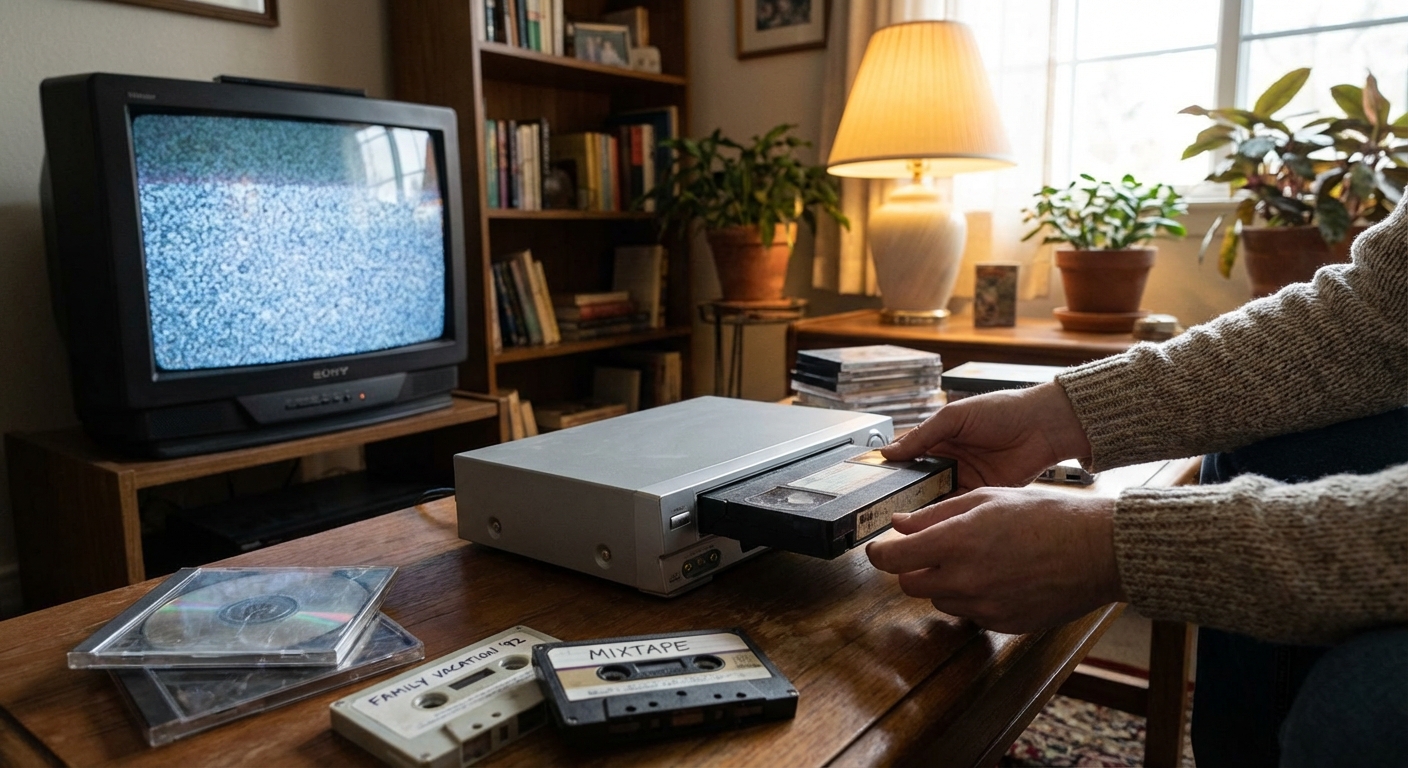
Step 5: Playing and Digitizing Safely
Video (VHS, Video8, MiniDV, etc.)
Connect to a capture device:
- For analog (VHS, Video8): use composite or S-Video into a USB capture card - For digital (MiniDV, Digital8): if possible, use FireWire for a direct digital transfer
Open capture software (OBS, VirtualDub, or bundled tools)
Press record on your computer, then play on the deck
Capture in real time—yes, a 2-hour tape takes 2 hours to digitize
Audio (Cassette, MiniDisc, DAT, Reel-to-Reel)
Connect deck’s line-out or headphone-out to your computer’s line-in or USB audio interface
Set recording software (Audacity is a great free option)
Adjust levels so peaks don’t clip (stay below 0 dBFS, ideally around -6 dB)
Record in real time, then split and label tracks later
The process can feel slow, but that’s part of the charm: you’re listening as you save.
Step 6: Light Restoration Without Erasing the Soul
Once digitized, you can gently clean up your files.
Audio
- Use noise reduction sparingly to tame hiss
- Apply light EQ to brighten muffled voices
- Normalize volume for consistent listening
Video
- Crop out noisy overscan borders
- Mild deinterlacing if artifacts bother you
- Color correction if the image has faded or skewed
The goal isn’t clinical perfection—it’s preserving the feeling of the original, tracking wiggles and all.
Step 7: Store Originals Like Little Analog Relics
Even after digitizing, keep the physical media if you can.
Good Storage Habits
- Cool, dry, and dark space
- Vertical storage for tapes to avoid warping
- Keep away from strong magnets (speakers, motors)
- Label clearly: who, what, when, and format
A builder’s pencil or archival pen on new labels beats sticky, shedding tape from 1987.
Step 8: Curate the Story, Not Just the Files
Don’t stop at “IMG_0001.MOV” and “TAPE1.wav.” Add context:
- Rename files:
1994-06-12_graduation_vhs_capture.mp4 - Add simple text notes or a README in each folder
- Ask relatives to help identify people and dates while you watch and listen together
There’s a quiet joy in turning an anonymous VHS transfer into “The Summer We All Went to the Lake.”
A Quick Tale from the Transfer Trenches
One collector found a dusty bag of Hi8 tapes labeled with cryptic phrases: “Band,” “NY Trip,” and, ominously, “Don’t Watch.” After tracking down a working camcorder and digitizing them, they discovered:
- Early garage-band rehearsals of songs that never left the basement
- A tourist’s-eye view of a ’90s New York that’s half vanished
- The "Don’t Watch" tape: a hilariously awkward attempt at a homemade horror movie
None of it was technically impressive. All of it was emotionally priceless.
Let the Machines Whirr Again
Reviving lost formats is part preservation, part archaeology, and part therapy. You’re not just saving data—you’re reconnecting with an era when media had weight, texture, and a tendency to tangle at the worst moment.
So dig out the tapes, dust off a deck, and give those whirrs and clunks another chance. The past is still in there, waiting for someone patient enough to press play.