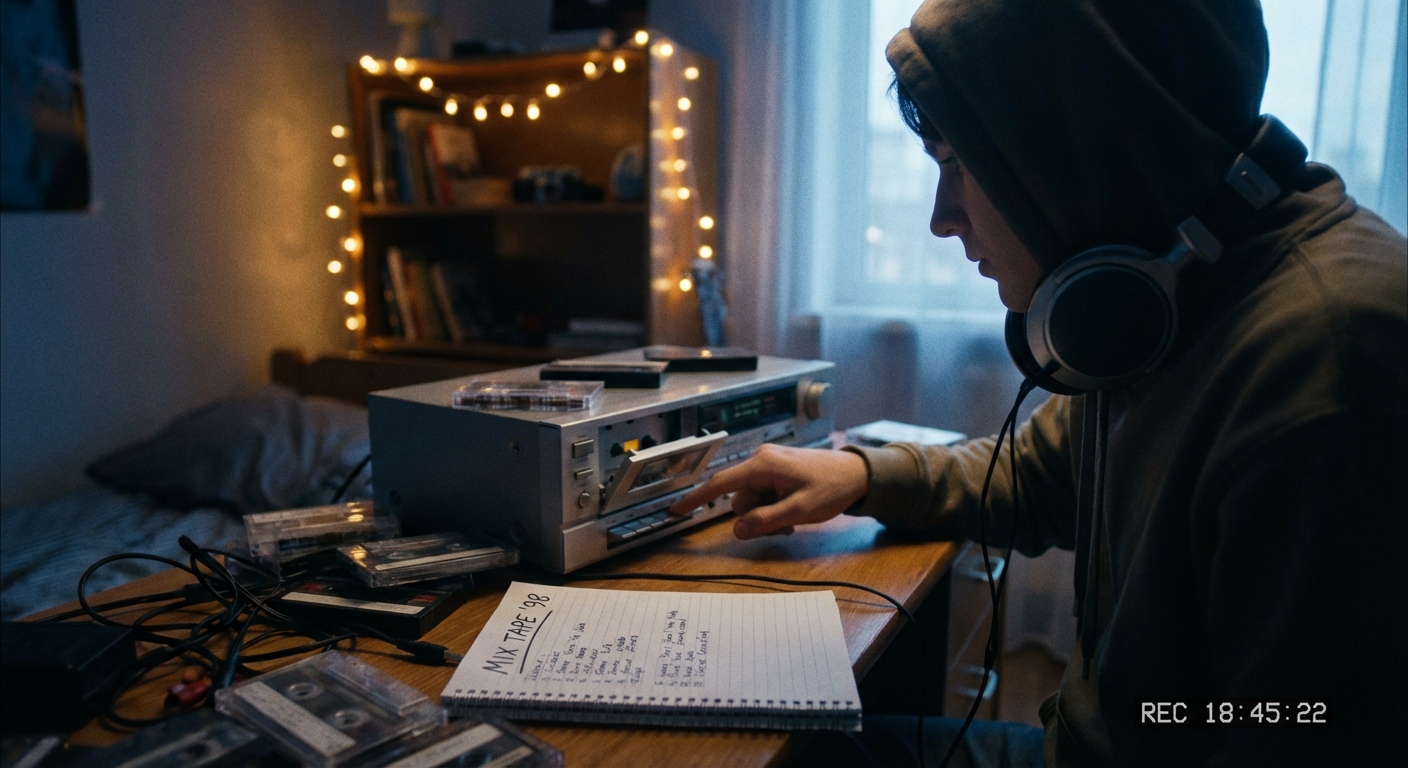
You have streaming. You have smart playlists. You have algorithms that know you better than your own friends. So why should you care about making a mixtape on actual cassette?
Why Make a Mixtape in 2026?
Because a mixtape is slow on purpose.
Mixtapes force you to listen, to plan, to commit. You can’t drag tracks around in a second; you have to live through each minute of Side A and Side B. There’s pleasure in that deliberate pace—a ritual that turns music curation into a real craft.
If you’ve ever wanted to create an analog mix with all the old-school charm (and a few modern upgrades), this guide is for you.
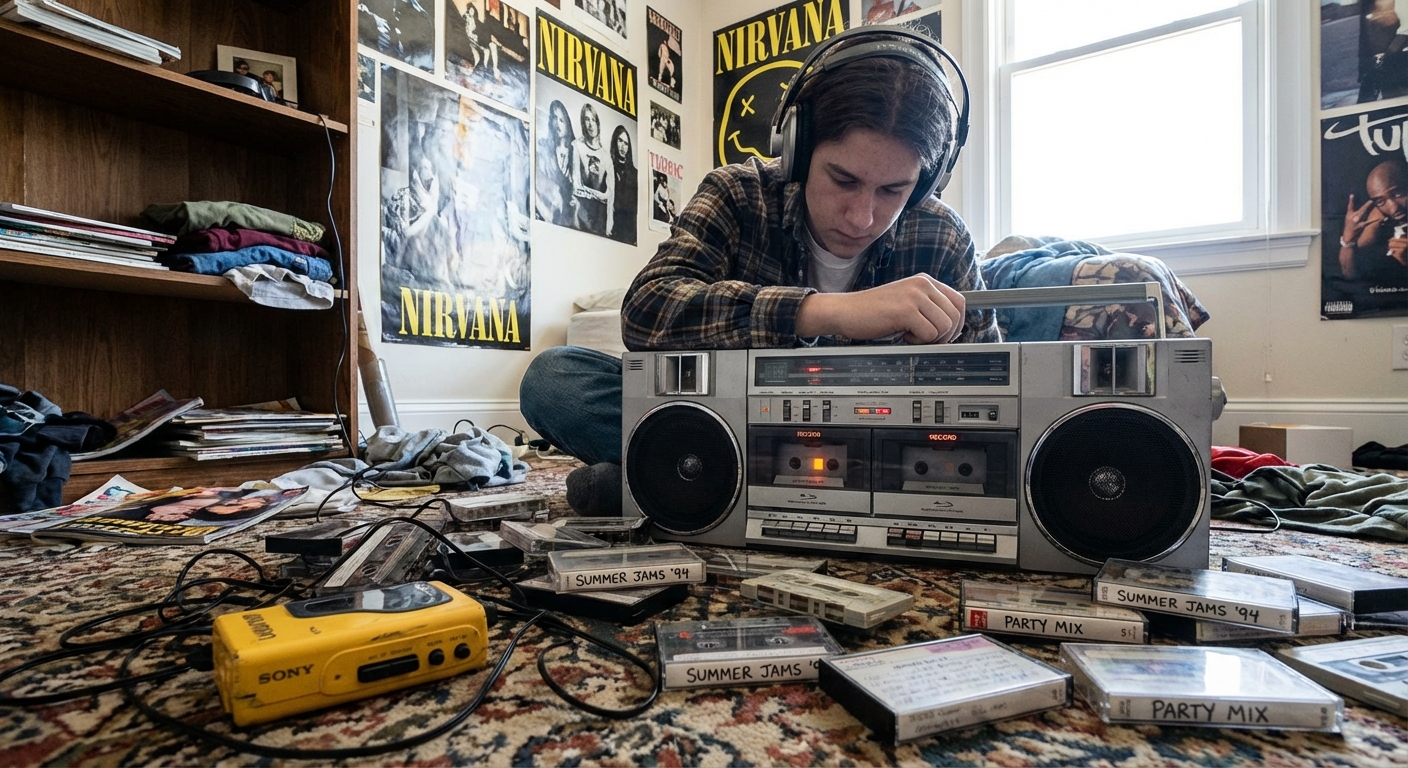
Step 1: Assemble Your Mixtape Toolkit
You don’t need a hi-fi museum to make something great, but a few basics help.
The Essentials
- Cassette Deck: Ideally with:
- Dual wells (for dubbing from other tapes)
- Manual input level controls
- A working counter
- Source: Could be:
- Turntable + receiver
- CD player
- Another tape deck
- Even a phone or computer line-out (yes, that’s allowed; we won’t tell).
- Blank Tapes:
- 60-minute and 90-minute are the sweet spots.
- Type II (chrome/high bias) is the nostalgic sweet spot: good fidelity, reasonable cost.
Nice-To-Have Extras
- Good Headphones: To monitor levels and hiss.
- Cassette Head Cleaner: Wet/dry kit or isopropyl alcohol + cotton swabs.
- Fine-Tip Pen & Stickers: For decorating the J-card, obviously.
Step 2: Choose Your Mission (a.k.a. Theme)
Legendary mixtapes usually have a loose theme. Not a rigid rule, more like a mood board.
Try:
- Time Capsule: Songs that defined a particular year or summer.
- Movie in Your Head: A mix that tells a story from start to finish.
- Crush Mix: Not necessarily love songs—songs that feel like them.
- Road Trip Tape: Starts energetic, mellows out, ends triumphant.
- Genre Tour: One style per track, stitched into a coherent journey.
You don’t have to announce the theme, but it should guide your choices. The listener should feel the concept, even if you never spell it out.
Step 3: Track Selection – The Heart of the Mix
This is where the fun+agony lives.
Think in Arcs, Not Just Tracks
A great mix has:
- An Opener: Grabs attention in 5 seconds. This is your handshake.
- A Few Mini-Arcs: 2–3-song runs that feel like little suites.
- A Pivot Track: Somewhere in the middle that flips the mood—happy to sad, day to night.
- A Closer: Leaves an aftertaste. Could be hopeful, unresolved, or quietly devastating.
Practical Tips
- Aim for 10–12 songs per side on a 90-minute tape, or 7–9 on a 60-minute.
- Mix tempos and textures: Don’t cluster all the ballads, don’t slam nonstop bangers.
- Think about lyrics: If this is for someone specific, words matter.
Pro tip: Make a rough playlist on a digital service first to audition the flow, then translate it to tape.
Step 4: Time Math (a Very Analog Anxiety)
Mixtape-making has its own gentle math anxiety: Will that four-and-a-half-minute track fit before the tape runs out?
Old-School Timing Tricks
- Add up the track times for Side A and Side B separately.
- For a C60 (30 min per side): Aim for ~28–29 minutes to allow for leader tape and slight variances.
- For a C90 (45 min per side): Aim for 42–44 minutes.
- For your last track on each side, pick something you’re okay with trimming if needed.
Yes, occasionally you will miscalculate. Yes, the tape will stop mid-chorus. No, that’s not always a bad thing.
Step 5: Set Levels Like a Bedroom Engineer
This is where you get to feel like a tiny, nostalgic audio engineer.
- Cue your first song on the source.
- Hit record + pause on the deck.
- Play the loudest part of the song and watch your deck’s meters.
- Adjust input until peaks hover just below 0 dB (or in the top of the “good” zone) without slamming into the red for long.
- Rewind the source.
You want it loud enough to avoid hiss, but not so hot it distorts—especially on choruses and drums.
If your deck has Dolby noise reduction:
- Try Dolby B for a gentle hiss reduction that still sounds “tape-y.”
- If this mix is for someone else, note on the J-card whether you used Dolby, so they can match it.
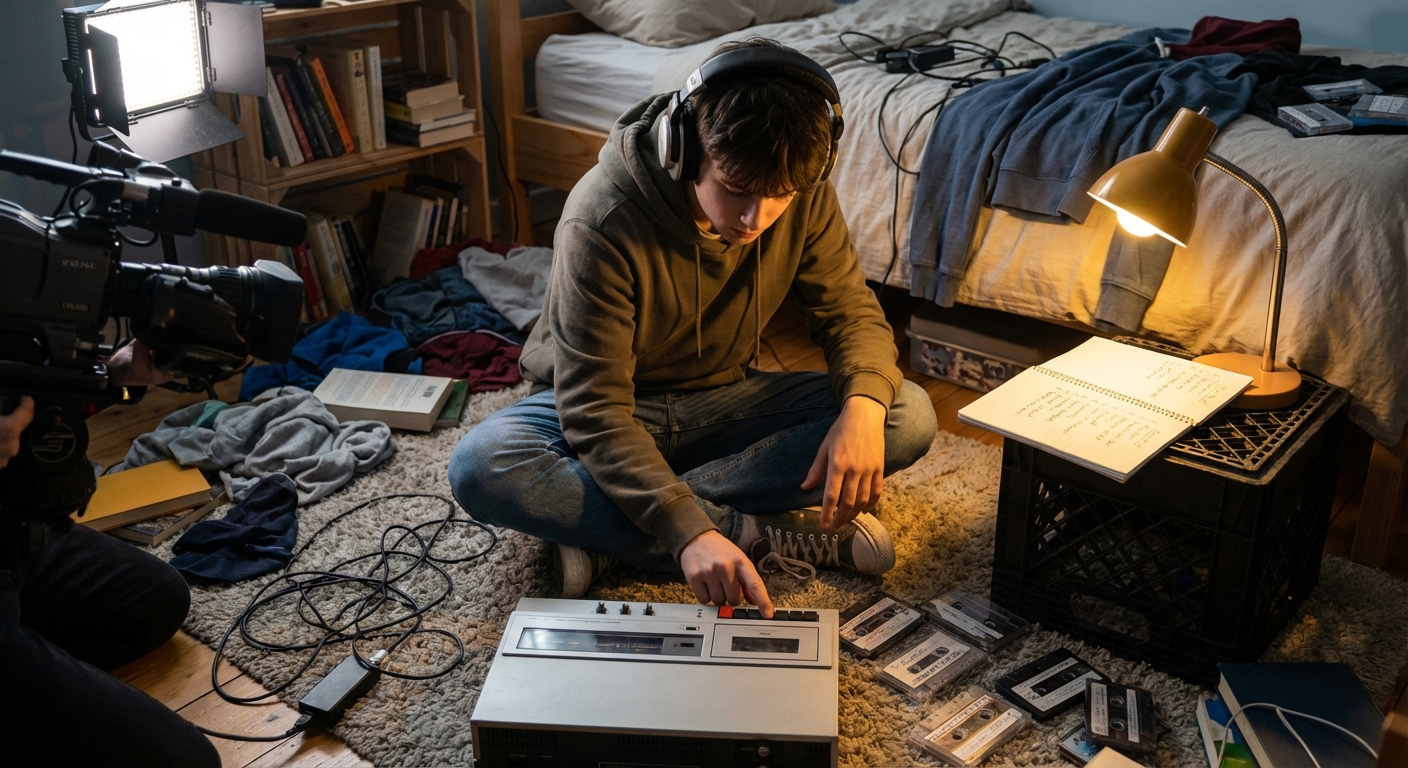
Step 6: The Live Recording Ritual
Now for the performance.
- Hit record (or record + play) on the deck.
- Start your source immediately after.
- Let the song play through in full—no skipping.
- Hit pause between tracks to reset your source for the next song.
The constraints are the magic. While the tape rolls, you’re committed. You might notice lyrics in a new way, or realize that this song is actually too intense after the last one.
You’ll be tempted to start over.
Usually, don’t. Tiny imperfections—half-second fades, mismatched volumes—are what make it feel human.
Step 7: Side B as a Mirror (or a Plot Twist)
Side B can:
- Continue Side A’s story.
- Flip it—happy to melancholy, fast to slow.
- Go weirder—deep cuts, remixes, live versions.
Think of the flip as an act: your listener has to physically participate. Reward that effort with a subtle shift in mood, like walking into the night air after a crowded venue.
Step 8: J-Card Art & Liner Notes
Never underestimate the power of good handwriting.
Basics to Include
- Title of the mixtape.
- Tracklist for each side.
- Artists + song titles (people do want to know what they’re hearing).
Optional Flourishes
- Color-coded stars (★) next to key tracks.
- Doodles, inside jokes, or recurring symbols.
- Tiny notes like “play this one late at night” or “turn this up in the car.”
Half the charm of a good tape is pulling it out years later and reading your past self’s proud, wobbly penmanship.
Step 9: Modern Care for an Old-School Mix
You can respect the analog ritual and still use modern tools.
- Digitize Your Mix: Record your tape back into your computer. The tape’s quirks become part of the "master."
- Name the Rip After the Tape: Honor its origin—WINTER CRUSH SIDE B (1999).wav is much more evocative than mixtape01.wav.
- Share Selectively: The whole point is that it’s personal. Sending a tape (or its rip) to one person feels different than posting a playlist link.
Step 10: Embrace the Hiss and the Humanity
Your first analog mixtape in years might be messy. Levels a bit off. A track you regret. A mysterious pop on Side B.
Good.
Mixtapes were never about perfection; they were about proof of effort. They say: I sat with these songs. I thought about the order. I cared enough to spend actual time and tape on you.
In a world of instant everything, that’s a rare and beautiful message.
So cue up Side A, hit record, and let the reels spin. You’re not just making a playlist—you’re making a little time machine that hums.