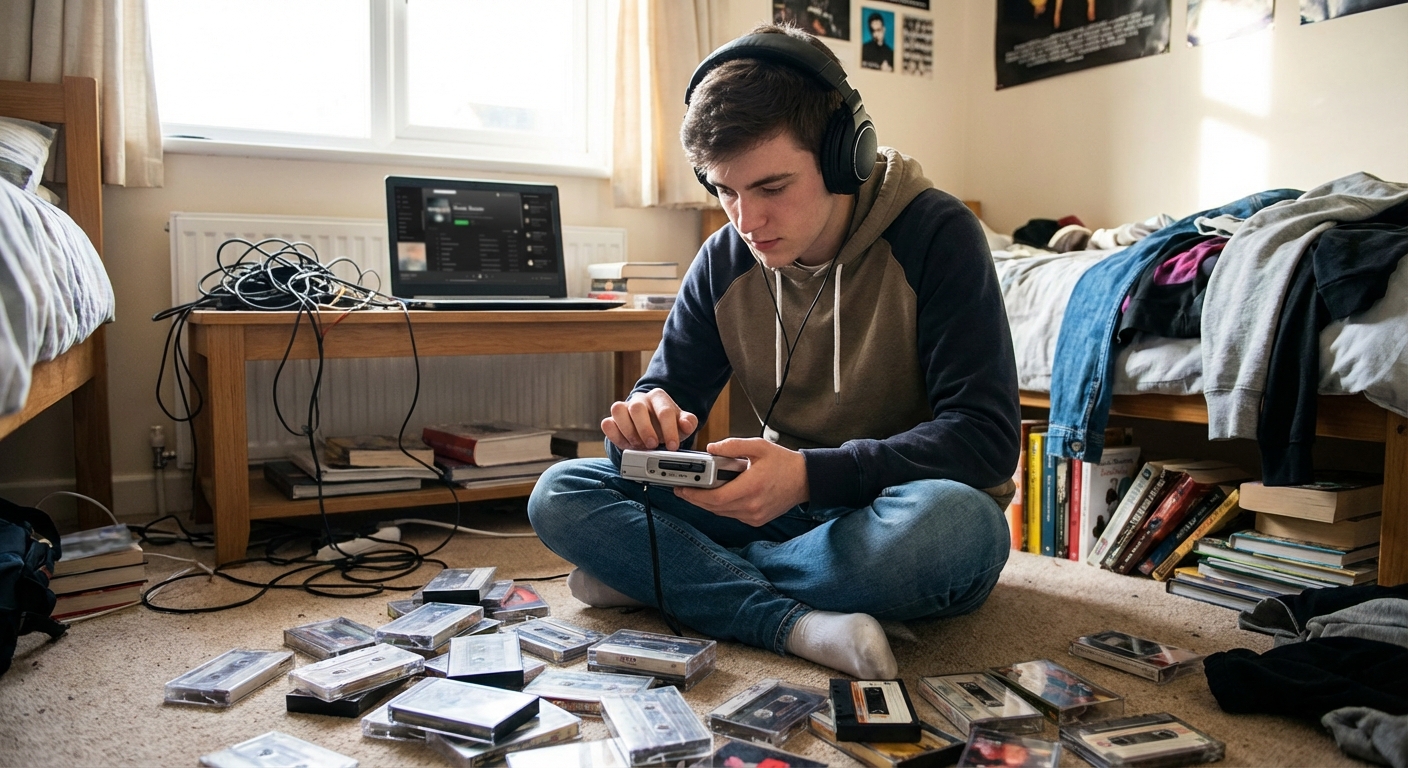
Making your own cassettes is one of the most satisfying corners of collecting. Instead of just curating what you find, you start shaping what exists. A home-recorded tape is half engineering, half love letter.
When Hiss Is a Feature, Not a Bug
If you’ve ever wanted to craft a mixtape that feels like it came straight from a bedroom in 1989—complete with tasteful hiss, thoughtful sequencing, and hand-scrawled J-card—this guide is your toolbox.
Know Your Gear: Decks, Portables, and Dubbers
Before you hit record, it helps to understand the machinery.
1. The Home Deck
The workhorse of serious tape makers.
Look for:
- Dual-well decks if you’re dubbing from cassette to cassette.
- 3-head decks (“monitor” decks) if you want to hear what you’re recording as you record.
- Manual level controls and meters, not just “one-button” recording.
Key specs (even on used gear):
- Wow & flutter: Lower is better; under 0.1% is great.
- Signal-to-noise ratio (SNR): Higher is better; helps fight hiss.
2. The Portable (Walkman-Style)
Many portables can record via built-in mics or line-in jacks. They’re not always hi-fi, but they impart a certain documentary charm.
Perfect for:
- Street sounds.
- Room ambience.
- Chatty spoken intros.
3. Dubbing Decks and Duplicators
If you’re making multiple copies of a mix (for a zine, label, or friend group):
- Consumer dual decks do fine for small runs.
- Standalone duplicators allow high-speed dubbing, though with a slight quality tradeoff.
Tape Types: Choosing Your Canvas
The tape you choose shapes the sound.
Type I (Normal Bias)
- Warm, slightly noisier.
- Classic “mixtape in mom’s car” sound.
- Great if you want that soft-edged nostalgia.
Type II (Chrome / High Bias)
- Better high-frequency response.
- Cleaner cymbals, crisper vocals.
- Often beloved for serious music mixes.
Type IV (Metal)
- Highest fidelity, highest cost.
- Overkill for playful nostalgia, but fantastic if you want the best sound from analog.
For true analog-era vibes, Type I and II are your friends. Many collectors actually prefer the slight grain of Type I for emotional mixes.
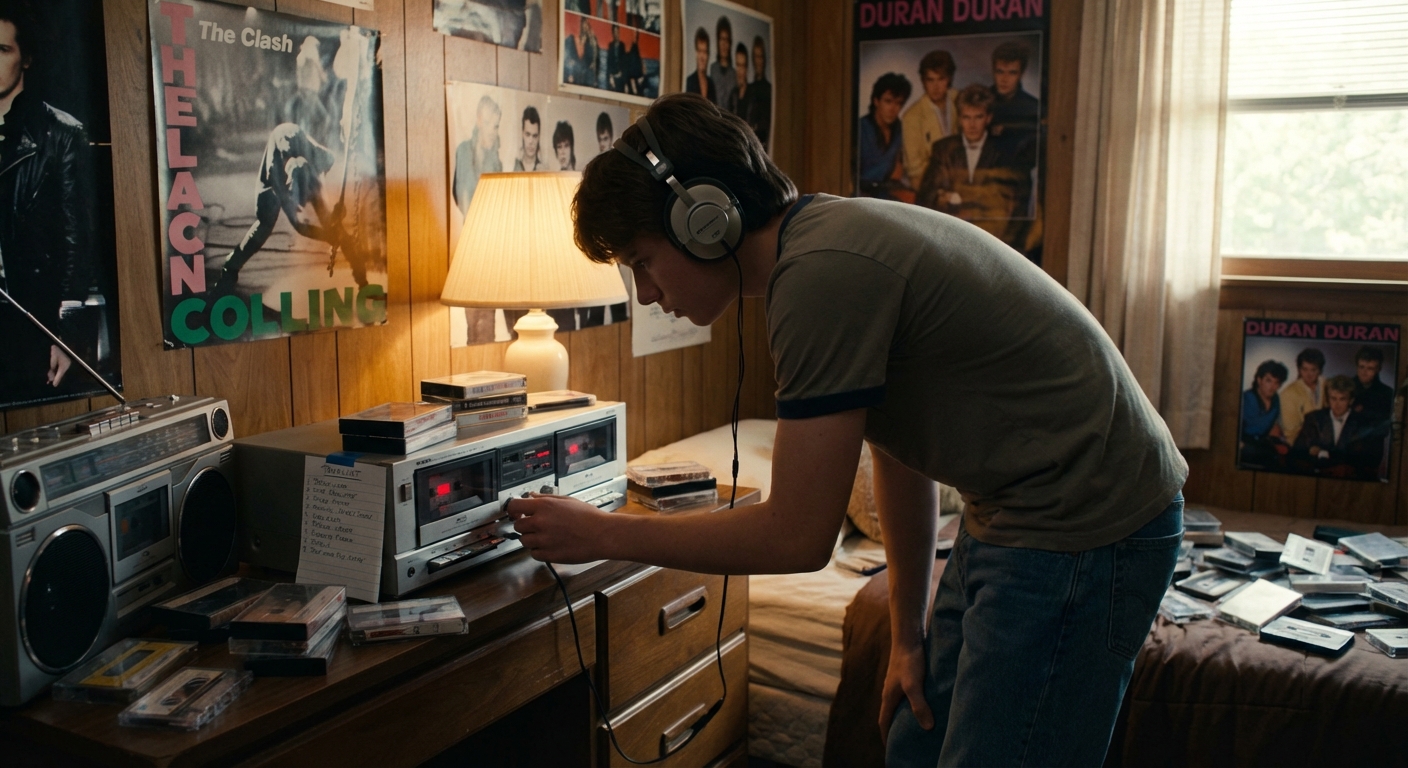
Setting Levels: Dancing on the Edge of Red
One of the joys of tape is gentle saturation—pushing levels just enough to warm things up without turning drums into mush.
How to Set Recording Levels
- Play the loudest part of the song you’re recording.
Adjust input so the meters peak around:
- 0 to +2 dB on Type I. - +2 to +4 dB on Type II and IV. 3. Avoid slamming solidly into the red—especially on dense, bass-heavy tracks.
Tape responds to being pushed:
- Vocals get a bit fuller.
- Transients soften slightly.
- Overall sound feels less brittle than digital.
Experiment by recording the same song at two or three different levels and comparing playback.
Noise Reduction: Dolby or No Dolby?
Dolby noise reduction was invented to combat hiss. But for nostalgic mixtapes, the choice isn’t obvious.
Dolby B
- Common on consumer decks.
- Reduces hiss.
- If played back with Dolby off after recording with it on, sound can be dull.
Dolby C and S
- Stronger noise reduction.
- More sensitive to mismatched playback.
The Nostalgia Equation
- If your tape will mostly live in your deck, Dolby can be helpful.
- If you’re trading tapes or using unknown players, many people skip Dolby and embrace the hiss.
A playful compromise: reserve Dolby for quiet, atmospheric mixes (ambient, acoustic), leave it off for rock, pop, and loud collage mixes.
Sequencing: The Lost Art of Side A and Side B
Streaming taught us to think in singles; cassettes teach us to think in sides.
Side A: The Introduction
- Start with a hook—a song or sample that defines the mood.
- Build a narrative arc: rise, moment of tension, a soft landing.
- Aim to end Side A with a track that feels like a comma, not a period—inviting the listener to flip.
Side B: The Confessional
Traditionally, Side B is where things get weirder or more intimate.
- Slip in live tracks, demos, or quieter pieces.
- Experiment with spoken-word snippets or recorded messages.
- End on something that could reasonably play in someone’s memory after the tape stops.
A good rule of thumb: each side should feel like a short film, not just a playlist.
Little Technical Flourishes That Feel Like Magic
Want your tapes to feel delightfully analog and lovingly crafted? Try:
1. Calibrated Silence
Leave a few seconds of intentional silence between certain tracks. On tape, this breath becomes part of the rhythm.
2. Field Recordings as Glue
Use a portable recorder to capture:
- Street noise.
- Rain on your window.
- Coffee shop chatter.
Layer or drop these between songs so the tape feels like a specific place in time.
3. Manual Crossfades
Instead of hard cuts:
- Gently lower the input level as one song ends.
- Bring up the next song before the previous one fully fades.
You become a one-person DJ with nothing but your fingers and the record knob.
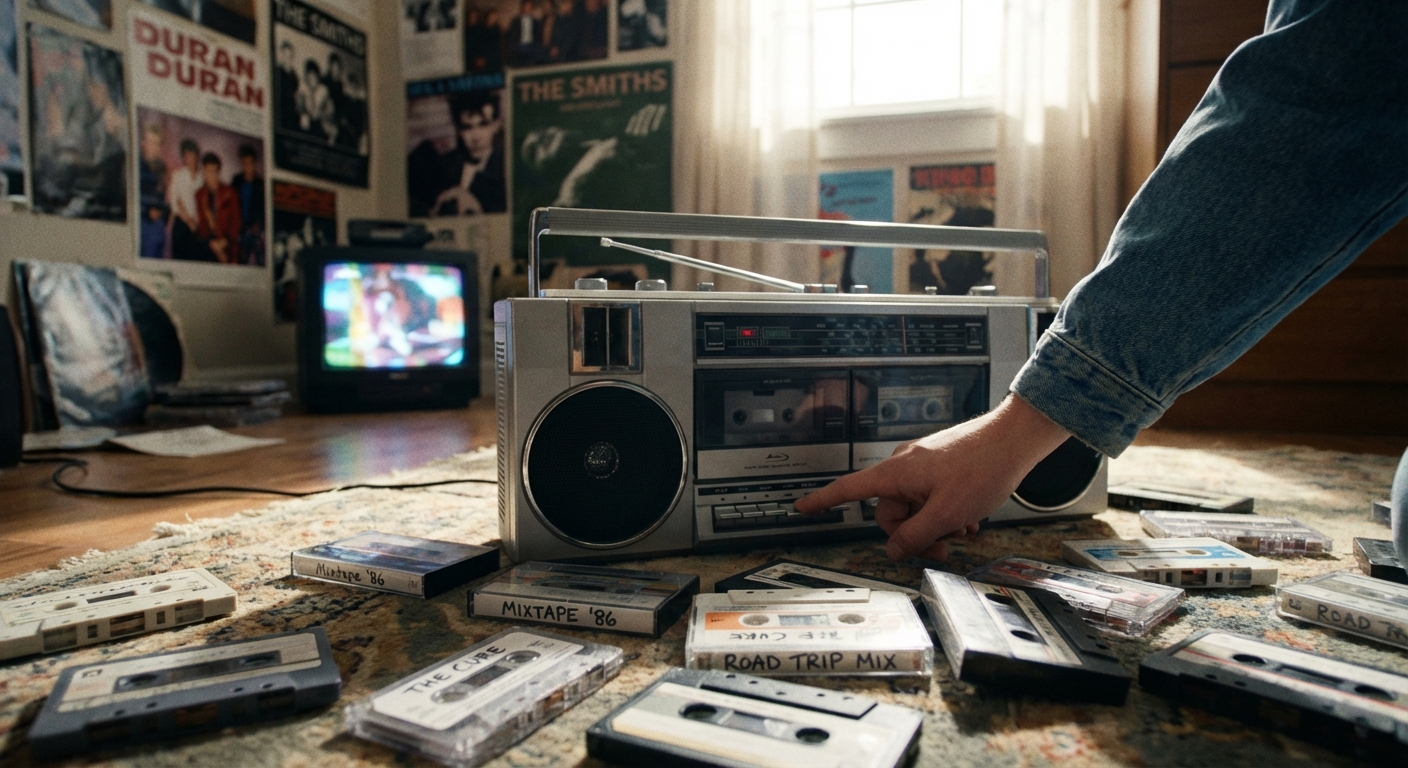
Labeling and J-Cards: The Analog UI
The experience of a mixtape begins before it’s played—when someone turns it over in their hands.
J-Card Design Ideas
- Hand-letter the tracklist with different pens or colors.
- Add little doodles next to key tracks.
- Include recording dates, locations, or weather notes.
- Tape in a tiny printed photo or photocopied zine-style art.
Spines and Stickers
- Use colored stickers for a loose “genre code.”
- Write a secret title on the spine that only you fully understand.
Collectors cherish these details. They transform a tape from “object” to time capsule.
Anecdotes from the Analog Trenches
- The Overdubbed Apology: One collector kept re-recording over the same tape each year with a refreshed playlist for a long-distance friend—always leaving the last two minutes as a spoken update. "By the time the tape finally died, it was like tree rings of our twenties."
- The Accidental Banger: Another made a test tape just to check a newly repaired deck, dumping random tracks. It sounded so unexpectedly cohesive that it became a permanent part of their rotation, labeled only “Deck Test 1.”
- The Tape That Traveled: A bedroom label producer sent a mix to a band they admired. The band played it in their van between tour stops, then passed it to another band. Years later, the original maker met someone in another country who said, “Wait, you made ‘Night Drive 03’?”
These stories are reminders: a homemade cassette can have a surprisingly long and intimate life.
Maintenance: Keeping Your Toolbox Sharp
If you’re serious about recording:
- Clean heads and pinch rollers every few tapes.
- Demagnetize the deck heads occasionally with a demagnetizer.
- Store your blank stock carefully—upright, cool, dry.
Better gear care means each new tape you make is a little clearer, a little more faithful, but still charmingly analog.
The Real Reason to Make Tapes
Underneath the tech talk and tape types, this is about something simple: focused care.
A mixtape takes time.
You think about track order.
You tweak recording levels.
You pause to write with your actual hand on actual paper.
When a listener presses play, they’re stepping into the tiny, whirring machine of your attention and affection.
In a world where playlists are disposable, recording a cassette on purpose—hiss, quirks, and all—is a nostalgic, playful way of saying: “This mattered enough to do slowly.”